Edit Selected Area
Edit one area. Keep the rest of the image.
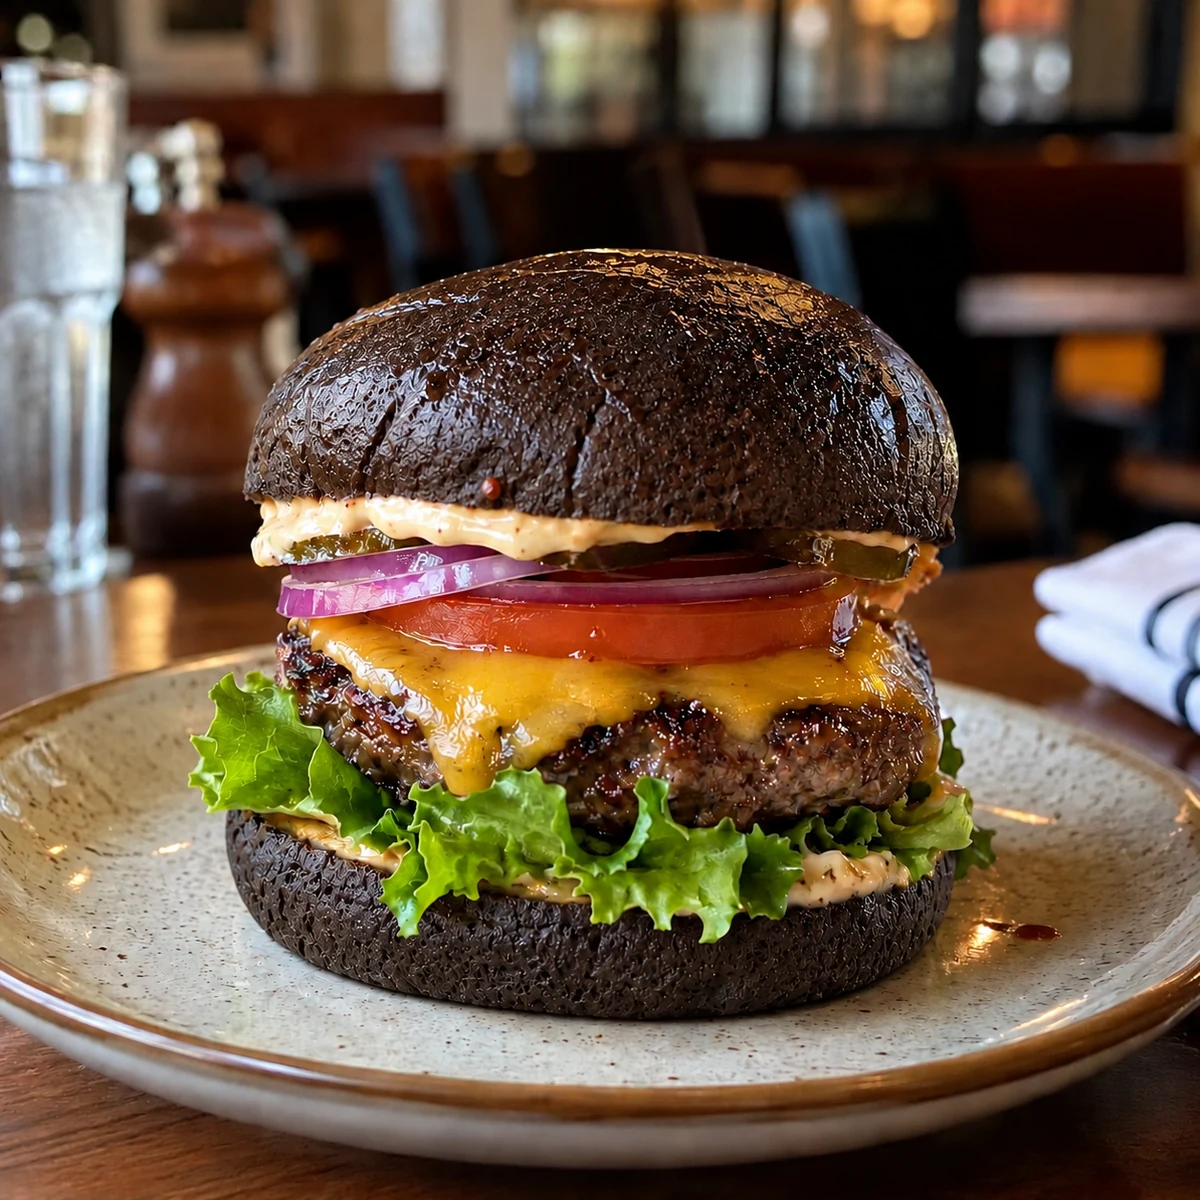
Use a marked region and a focused prompt to change one detail without requesting a complete redesign of the photo.
1. Upload or select a reference photo
Open Create / Edit in Image Studio. Upload your reference photo, or select an image from Library. Edit Selected Area is available on Pro and Scale.
2. Mark the area to change
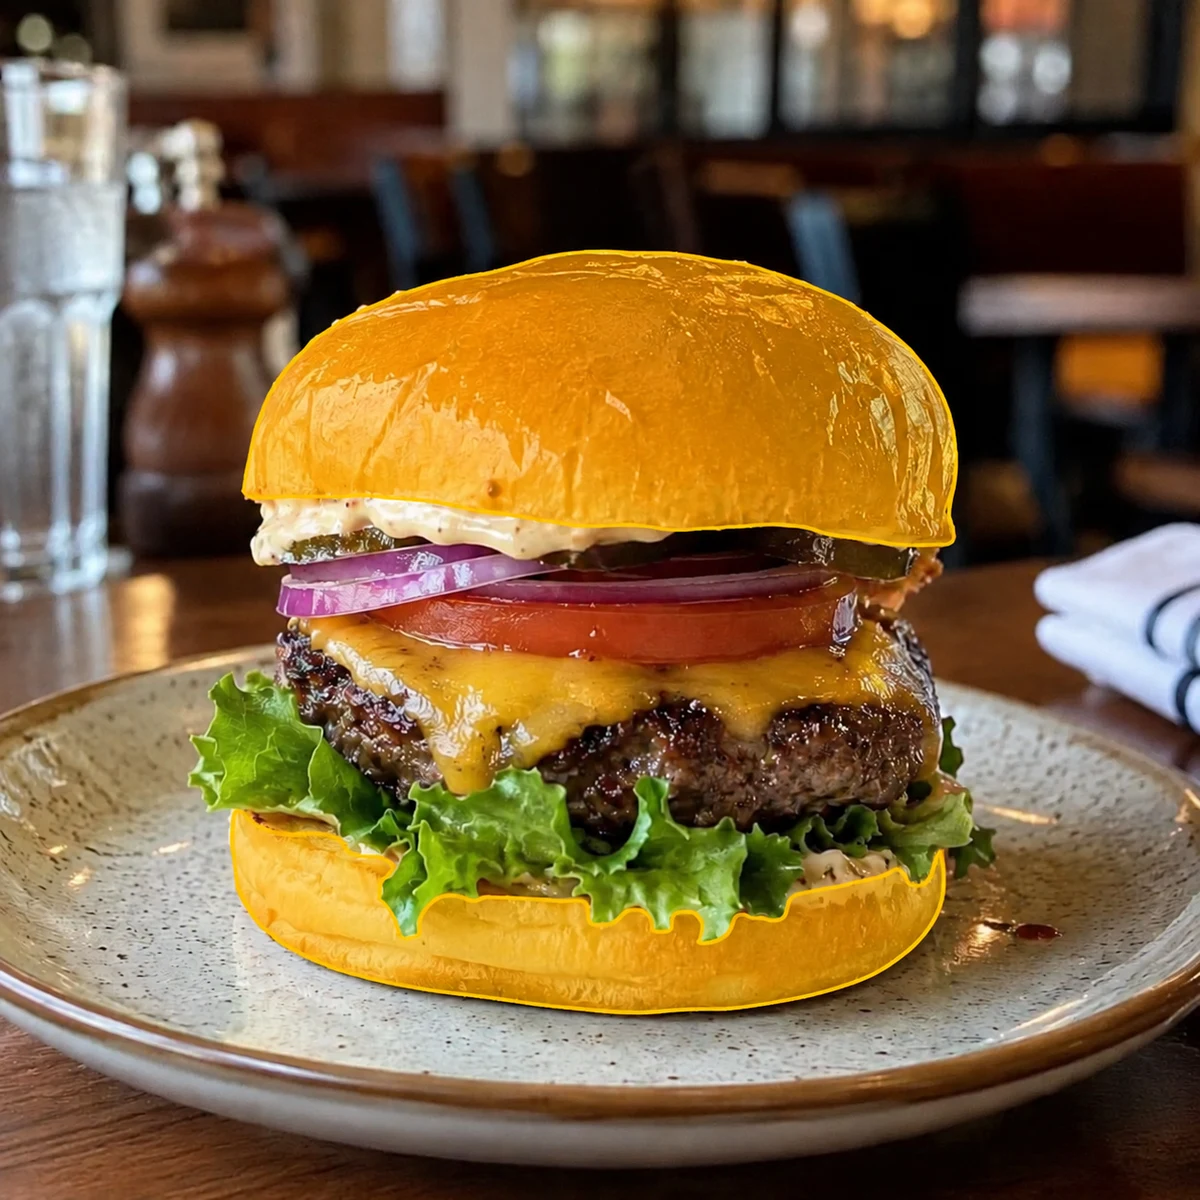
Enable Edit Selected Area and mark the part of the reference image that should change. Cover the object you want to edit, while avoiding unrelated food, tableware, or background details.
3. Describe the requested change
Keep the prompt specific. For this example: Change the buns to dark grain bread and add seeds. The marked region guides the edit; the goal is to keep the rest of the image intact.
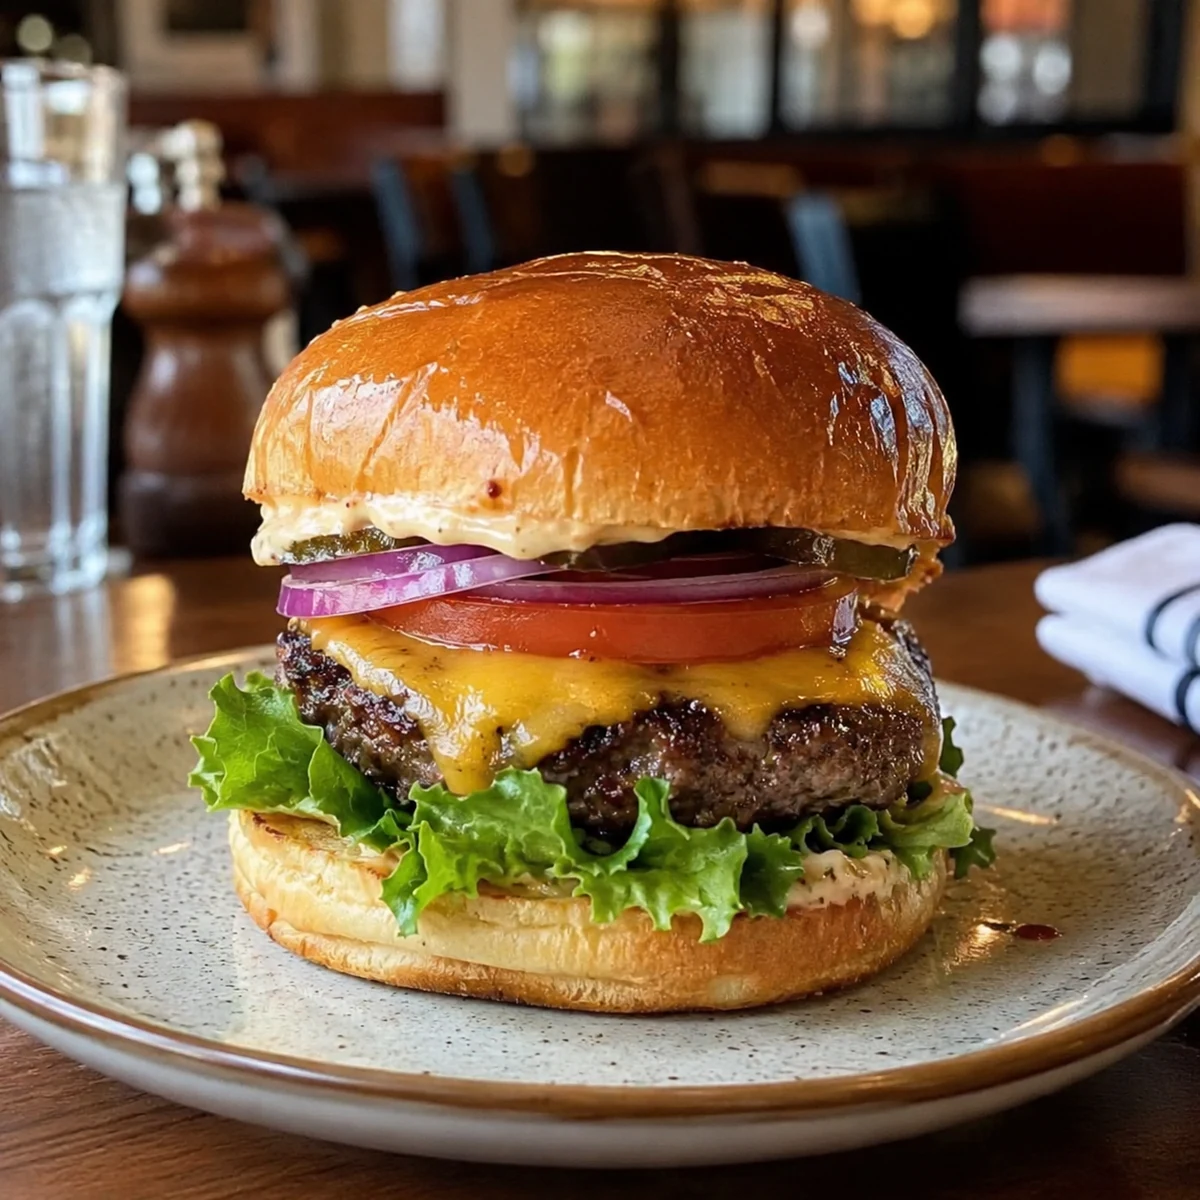
4. Compare before, selection, and result
The first image shows the original burger, the second shows the marked buns, and the third shows the requested dark bread result. Compare the filling, plate, background, and edited boundary before approving the image.
5. Review and download
Check food accuracy, unwanted changes, and texture around the edited region. Adjust the selection or prompt and try again when necessary. Download important results before their 10-day storage period ends.
Before, selection, and result
Try Edit Selected Area with your own food photos.
Open Umami AI