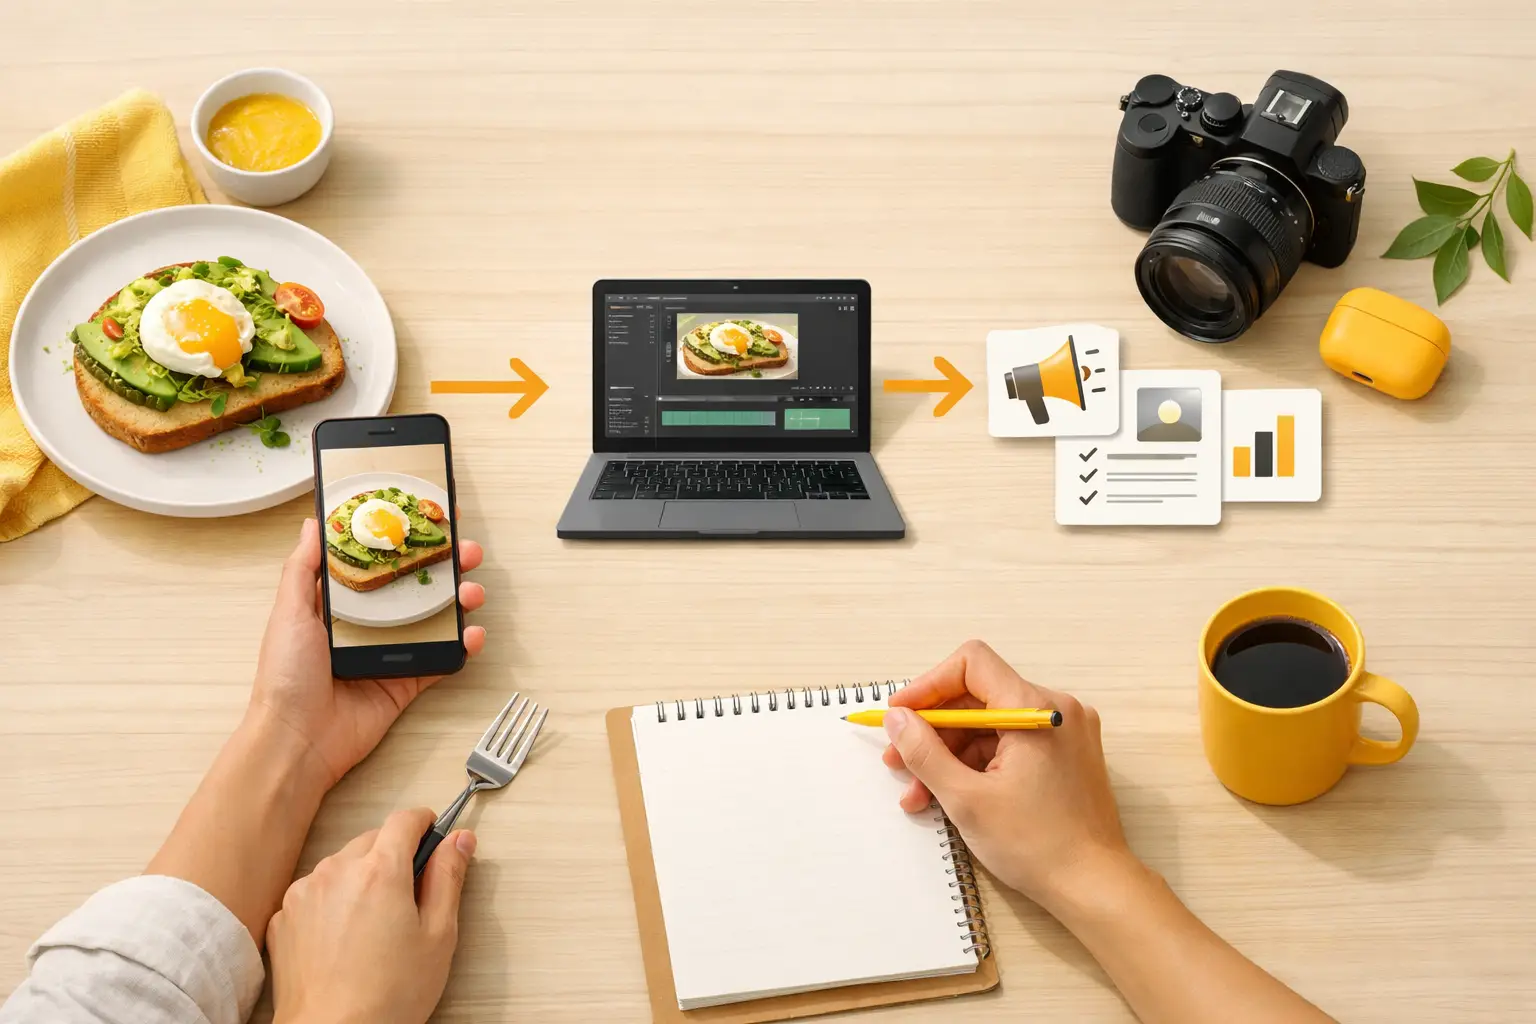
A lunch promotion goes live at 11 a.m., but the social post is still waiting on a photo, a crop, a caption, and approval from three people. That is not a creativity problem. It is a food content workflow problem. For restaurants, food brands, ghost kitchens, and e-commerce teams, the cost of an unclear workflow shows up as missed promotions, inconsistent feeds, and too much time spent chasing assets instead of publishing them.
A scalable workflow gives every content request a path from idea to approved asset. It makes production faster without making every visual look interchangeable. It also creates room for the work that needs judgment: choosing the right offer, refining the message, and protecting the brand.
What a food content workflow should solve
Food content has a short shelf life. A seasonal drink, limited-time menu item, retail launch, or holiday bundle may need visuals across social, paid ads, delivery platforms, email, menus, and product pages within days. Traditional production can deliver excellent results, but it requires scheduling, styling, studio time, retouching, and multiple rounds of review. That pace does not fit every campaign.
The goal is not to replace every photo shoot. Hero packaging launches, signature dishes, and high-stakes brand campaigns may still justify one. The goal is to give your team a dependable production system for the constant flow of supporting content.
A useful food content workflow should do four things:
- Turn business requests into clear creative briefs.
- Produce multiple usable visual options without starting from zero each time.
- Keep brand details consistent across channels and campaigns.
- Move approved assets into publishing tools, ad platforms, menus, or storefronts quickly.
When any one of these steps is loose, the team compensates with messages, last-minute edits, and duplicated work. A good system makes the next action obvious.
Start with content demand, not individual posts
Many teams build content one post at a time. That approach feels responsive, but it creates a backlog of urgent requests and leaves no room for planning. Start with the commercial calendar instead.
List the promotions, product moments, menu changes, seasonal events, and recurring needs coming up over the next four to eight weeks. A restaurant may need weekly specials, catering reminders, happy-hour posts, and delivery app updates. A CPG brand may need product detail images, recipe concepts, retailer promotions, and short paid-social variations.
Then group those needs into content families. One new chicken sandwich, for example, can support a clean menu visual, a bold paid-ad crop, a lifestyle scene, a close-up texture shot, a vertical story asset, and a short animated reveal. The product is the same. The intent and format are different.
This shift matters because it changes the question from “What should we post today?” to “What asset set does this campaign need?” Teams produce more useful material when they plan variations from the beginning.
Define the brief in operational terms
A brief should be short enough to complete quickly and specific enough to prevent rework. Avoid vague prompts such as “make it pop” or “something premium.” Instead, identify the product, audience, placement, message, visual direction, dimensions, and deadline.
For a new iced coffee offer, the brief might specify a 4:5 feed image for local paid social, a bright morning setting, condensation on the cup, a visible branded sleeve, room for promotional copy, and a target customer looking for an afternoon pick-me-up. That gives the creator or production tool a practical target.
Add a decision owner to every brief. If the social manager, franchise lead, and brand director all approve assets without defined roles, approvals will slow down no matter how fast the visual is created.
Build a repeatable visual system
Speed is valuable only when the output still looks like your brand. The strongest teams create a visual system before they increase production volume.
Document the basics: primary colors, preferred surfaces, lighting style, camera angles, garnish standards, packaging treatment, ingredient accuracy rules, and the degree of realism expected. Include examples of what not to create. If your brand avoids rustic wood tables, dramatic shadows, or excessive toppings, say so clearly.
For food, the details matter. A pizza brand may require a specific crust profile and cheese coverage. A beverage brand may need the label facing forward with the correct cap color. A healthy meal brand may want restrained styling rather than a crowded table scene. These choices are not cosmetic. They affect recognition and trust.
Create a small set of reusable composition templates as well. For example, use one setup for product-first menu images, one for promotional offer graphics with copy space, one for ingredient-forward social posts, and one for vertical video. Templates reduce decision fatigue while leaving room to adjust lighting, props, and seasonal context.
This is where specialized food visual tools have an advantage over general creative workflows. Umami AI can help teams generate food-focused image and video concepts around defined compositions, then create the variations required for different channels without rebuilding a scene from scratch.
Separate creation from selection
A common production mistake is trying to generate the final asset in a single attempt. It is slower than it sounds. Food visuals benefit from exploration: a different angle may show texture better, a simpler background may make the product more legible, or a wider frame may give the designer room for copy.
Use a two-stage process. First, create a controlled batch of options based on the same brief. Then select the strongest direction and refine it for the intended placement. This separates the creative question, “What should this look like?” from the production question, “Which version is ready to use?”
The batch size depends on the campaign. For an everyday social post, three to six viable directions may be enough. For a paid campaign that will run across multiple placements, create more options and test different crops, offers, and product emphasis.
Do not confuse volume with variety. Ten nearly identical overhead shots are not ten useful assets. Build purposeful variations: close-up versus full product, bright versus moody, lifestyle versus clean studio, and copy-led versus product-led. Each should answer a different marketing need.
Add a lightweight approval lane
Approval is where content workflows usually lose momentum. The fix is not more meetings. It is clear review criteria.
Review food assets in a consistent order: product accuracy first, then brand fit, campaign message, platform requirements, and final technical quality. If the sandwich is missing a key ingredient or the package looks wrong, there is no reason to debate the background color yet.
Set service-level expectations for reviewers. For example, standard assets may need feedback within one business day, while event-driven promotions may require same-day review. If no response arrives by the deadline, assign a default decision maker who can move the work forward.
Keep feedback consolidated. One person should translate input into a single revision request rather than sending creators a stream of conflicting comments. This is especially useful for agencies, multi-location restaurant groups, and brands with several stakeholders.
Produce for channels at the same time
The visual that works on a website banner may fail in a vertical story. A menu image needs clean product visibility. A paid-social asset may need negative space for an offer. A delivery platform image needs to make the item understandable at a small size.
Build channel requirements into the production brief rather than resizing everything after approval. Request the core crops and formats as a set: square or 4:5 for feeds, 9:16 for stories and short video, horizontal for web placements, and product-forward versions for menus or commerce pages.
This does not mean every campaign needs every format. A local restaurant promoting a weekend special may only need a feed post, story, and menu screen. A national product launch may require a much broader asset package. Scale the workflow to the revenue opportunity, not to a generic checklist.
Measure output that supports the business
Track more than likes. A practical workflow should reveal whether your team is producing the right assets at the right cost and pace. Monitor request-to-publish time, number of approved assets per campaign, revision rounds, cost per usable visual, and asset reuse across channels.
Then connect content to commercial outcomes where possible. Look at click-through rates for ad variants, menu-item sales during promotions, product page conversion, email engagement, or delivery order lift. Not every visual will have a clean attribution path, but patterns become visible over time.
If a certain style consistently drives stronger results, add it to your visual system. If teams keep requesting the same last-minute format, turn it into a standard template. The workflow should improve with use, not become a rigid process people work around.
The best food content workflow is not the one with the most steps or the most assets. It is the one that gives your team a reliable way to turn a product moment into publish-ready content before the opportunity passes.