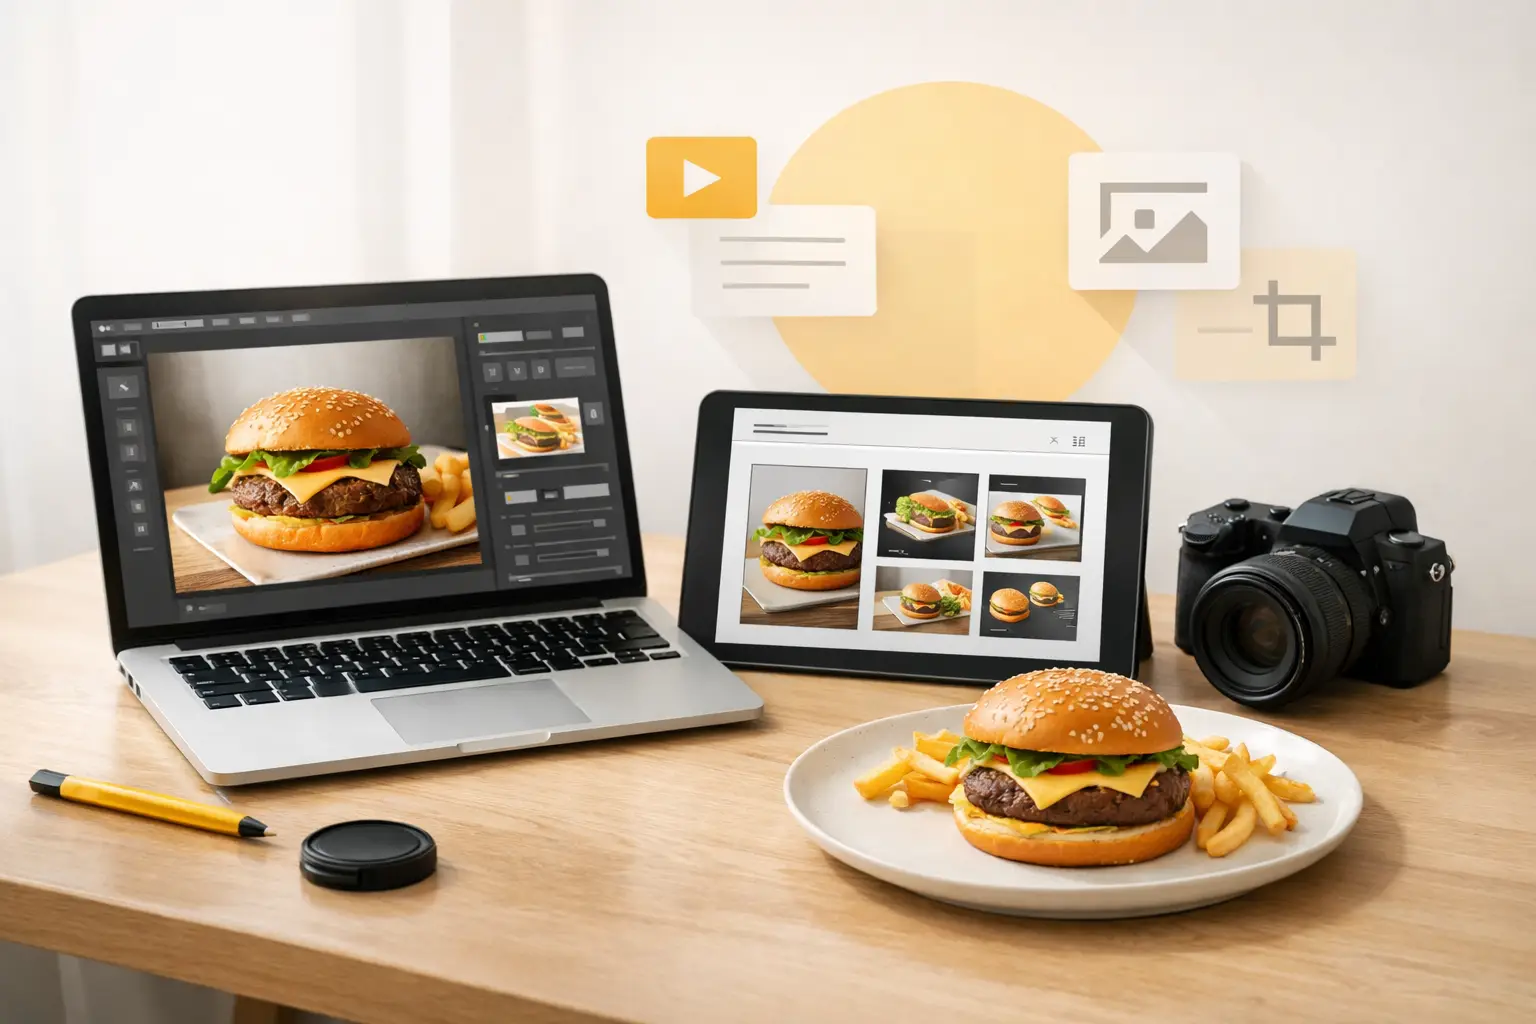
A menu update should not require booking a studio, sourcing props, coordinating a food stylist, and waiting weeks for retouched files. For restaurants and food brands that regularly launch items, rotate offers, or test campaigns, menu image software turns visual production into a faster operating workflow.
The goal is not simply to generate a pretty plate. A usable menu visual needs to make the item recognizable, appetizing, and consistent with the rest of the brand. It also needs to work across the places customers actually see it: digital menus, ordering platforms, in-store screens, paid ads, email, and social posts.
What Menu Image Software Should Actually Do
General AI image tools can create food images, but food businesses need more control than a single prompt and a download button. Menu image software should help a team produce images that reflect a specific dish, use a defined presentation style, and fit the dimensions of the channel where the image will appear.
That means the tool should support more than first-pass generation. Look for a workflow that lets you shape composition, revise details, build multiple variations, and create assets in the right format without restarting from zero. A burger campaign may need a clean 1:1 image for a delivery listing, a vertical crop for a story ad, and a wider scene for a website banner. The core food visual should stay consistent across all three.
Speed matters, but speed without usable control creates more cleanup work. The best output is an image your marketing team can publish or hand to a designer with minimal rework.
Start With the Job the Image Needs to Do
A menu image has a different job from a brand campaign image. The menu version should show the food clearly and set accurate expectations. A campaign image can be more stylized, with dramatic lighting, motion, ingredient scatter, or a lifestyle setting.
Before generating anything, define the intended use. Ask whether the image needs to drive an immediate order, introduce a new product, support an upsell, or fill a content calendar. This choice affects framing, background, crop, and how much visual styling makes sense.
For example, a delivery-menu image usually benefits from a simple composition. The dish should be the obvious focal point, the serving size should feel credible, and toppings or sides should be easy to identify. A promotional visual for the same dish can use more atmosphere, but it still has to make the product look like something a customer can order.
This is where teams often lose time. They ask for one asset to do every job, then discover it is too tight for a banner, too busy for a menu tile, and too polished to feel accurate on an ordering page. Create a primary menu image first. Then generate channel-specific variations from the same visual direction.
Build a Repeatable Visual System
A restaurant with 40 menu items cannot afford for every image to look like it came from a different campaign. Consistency makes a menu easier to scan and makes a brand feel more established, even when the content is produced quickly.
Set a few visual rules before production begins: preferred camera angle, lighting style, background treatment, plate or packaging type, color temperature, and crop approach. A fast-casual bowl brand might use bright overhead shots on a clean colored surface. A premium dessert concept may prefer close, low-angle images with controlled shadows and darker tones.
These rules do not need to limit creativity. They make creative output reusable. Once your team knows how a hero sandwich, salad, beverage, and dessert should be framed, each new item becomes a variation within a system instead of a fresh art direction exercise.
Use prompts like production briefs
The strongest prompts read less like vague inspiration and more like instructions for a food shoot. Name the product, visible ingredients, serving vessel, angle, lighting, background, and intended format. Add exclusions when needed, such as no hands, no cutlery, no text, or no extra side dishes.
A useful brief might specify a grilled chicken wrap cut in half, visible lettuce and sauce, on branded deli paper, photographed at a 45-degree angle against a warm neutral background. That gives the model practical visual constraints. “Make a delicious wrap” does not.
If your platform supports image references or composition controls, use them. A reference can help preserve packaging shape, brand colors, or the look of a real product. This is especially valuable for beverage cans, bakery boxes, packaged snacks, and products with recognizable components.
Prioritize Food Accuracy Over Visual Drama
Food imagery can be persuasive without being misleading. For menu and ordering use, the generated visual should remain close to what customers receive. That includes portion size, major ingredients, garnish level, and the format of the item.
AI can exaggerate melted cheese, add implausible toppings, invent extra layers, or create a container your operation does not use. These details may look attractive at first glance, but they can create customer disappointment and operational friction. Review every output with someone who knows the product, not only someone who knows design.
There is a practical trade-off here. The more literal the image needs to be, the more carefully your team should use references, detailed prompts, and review steps. For a limited-time flavor concept that has not been photographed yet, AI gives you more room to explore. For a signature item sold every day, accuracy should win.
The Menu Image Software Workflow for Teams
The right workflow keeps generation from becoming another unorganized content task. Start with a menu-item list and group products by category, such as sandwiches, bowls, sides, desserts, or drinks. Define the visual system for each category, then create the highest-priority images first: bestsellers, new launches, and items used in current paid campaigns.
Generate several options for each item rather than stopping at the first acceptable result. The first image is often a direction check. Compare options for product clarity, realistic details, composition, and available negative space for design overlays. Select the best direction, then create the crops and variations needed for different channels.
Keep approved images in an organized library with clear names tied to product, campaign, and format. That makes it easier to refresh a menu, build a new promotion, or hand assets to an agency without recreating the work. It also gives your team a record of the visual standards that performed well.
For businesses producing frequent content, credit usage matters. Generate broadly during concepting, but reserve high-volume output for approved visual directions. This helps prevent teams from spending credits on random experimentation when they need capacity for product launches, seasonal updates, and ad variations.
Where AI Food Visuals Create the Most Value
Menu visuals are the obvious use case, but the same production system can support a larger content engine. A single approved dish direction can become product tiles, homepage imagery, promotional banners, social posts, short-form video concepts, and seasonal campaign assets.
This is where specialized food-focused tools have an advantage. A platform such as Umami AI is built around creating food visuals and motion assets, so the workflow starts closer to the needs of a restaurant, food brand, or agency. Instead of adapting a broad image generator to food marketing, teams can focus on output volume, food presentation, composition, and commercial readiness.
Traditional photography still makes sense for flagship campaigns, packaging, or products where exact visual documentation is required. AI is most effective when it removes the repeated production burden around menu refreshes, test concepts, localized offers, and the constant demand for new creative.
Measure More Than How Good the Image Looks
An image that earns compliments is not automatically an image that sells. When possible, compare visual variations against business outcomes: click-through rate, add-to-cart rate, menu conversion, promotion redemption, or engagement by channel.
Keep the test focused. Change the crop, angle, background, or product emphasis, but do not change every element at once. Over time, your team can identify what works for specific categories. A top-down bowl image may convert well in delivery listings, while a close-up cross-section may perform better for sandwiches in paid social.
Treat the visual library as operating infrastructure, not a one-time creative project. When every new dish can move from idea to consistent, channel-ready imagery without a full photo shoot, your menu can stay current at the pace your business actually moves.
The practical next step is simple: choose one high-value item, define the visual rules it needs to follow, and build the first set of menu, ad, and social variations around it. That small system can become the production standard for everything that comes next.